 So you’ve got your tools, you’ve protected your alloys from brake dust – now how do you actually clean them? Follow our step-by-step guide below for foolproof, sparkling results. You can incorporate this as part of your regular car cleaning regime, but we’d advise washing the wheels before the rest of the car – this ensures you don’t have dirt and brake dust splashing over your clean bodywork!
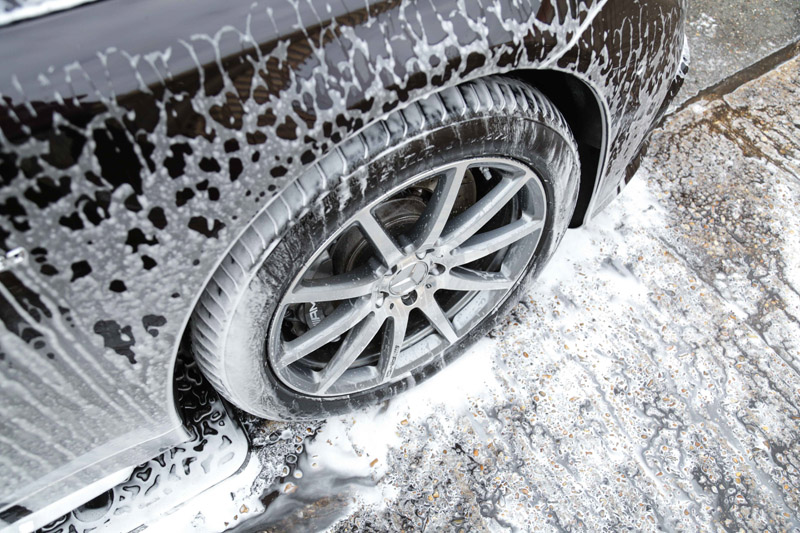
- Clean your tyres and wheel wells using specialist tyre cleaner and brushes – this stops you making a mess over your clean alloys later. Remember that your tyre brush should be stiff and should under no circumstances be used on your alloys!
- Give your wheels a thorough rinse
This helps to remove brake dust and any loose dirt, saving you work later. Ideally you want to create a hard stream of water so a hose is best, or you can use a plastic water bottle if you’re in a pinch!
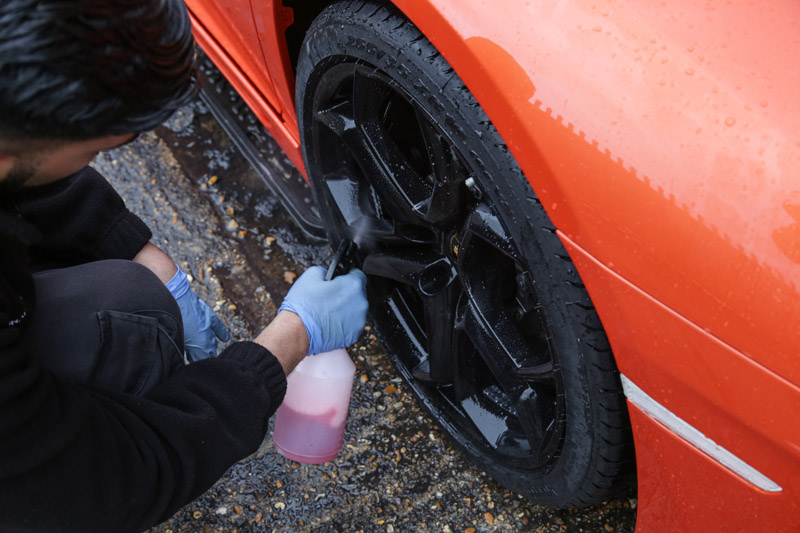 Apply the wheel cleaner
Follow the instructions on the cleaner you’ve chosen – they really are there for a reason!
- Scrub the wheel with your soft alloy brush
Your soft brush will gently work away all that grime and brake dust, without damaging the surface of your alloy. Remember to keep the alloy wet throughout the process (otherwise you’ll ruin your finish) and work all around the back and front of the wheel to ensure you scrub off all the dirt. Your clean and dirty water buckets will come in very handy here.
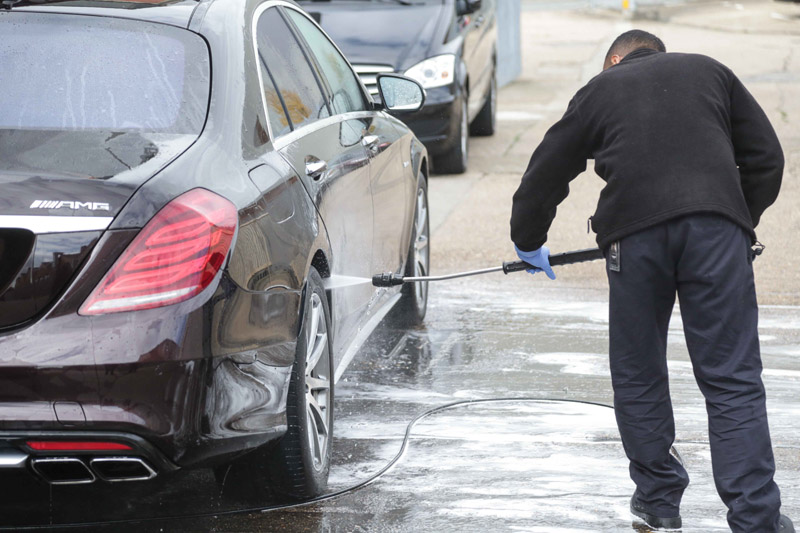 Rinse everything thoroughly. There’s no point scrimping at this stage so go to town with your hose or buckets.
- Dry your wheels with a towel
For best results you’ll have to dry your wheels manually – it stops water spots appearing and ensures you get the optimum finish. Your towel will accumulate residual brake dust over time so never use this on other parts of your car, unless you like the corroded paint look.
Now you’ve mastered the basic thorough clean of your wheels you’re ready for clay detailing, which can be done straight after this process. Stay tuned for our next blog to find out how to master the art and ensure you remove every last bit of dirt and dust from your wheels.
 Follow